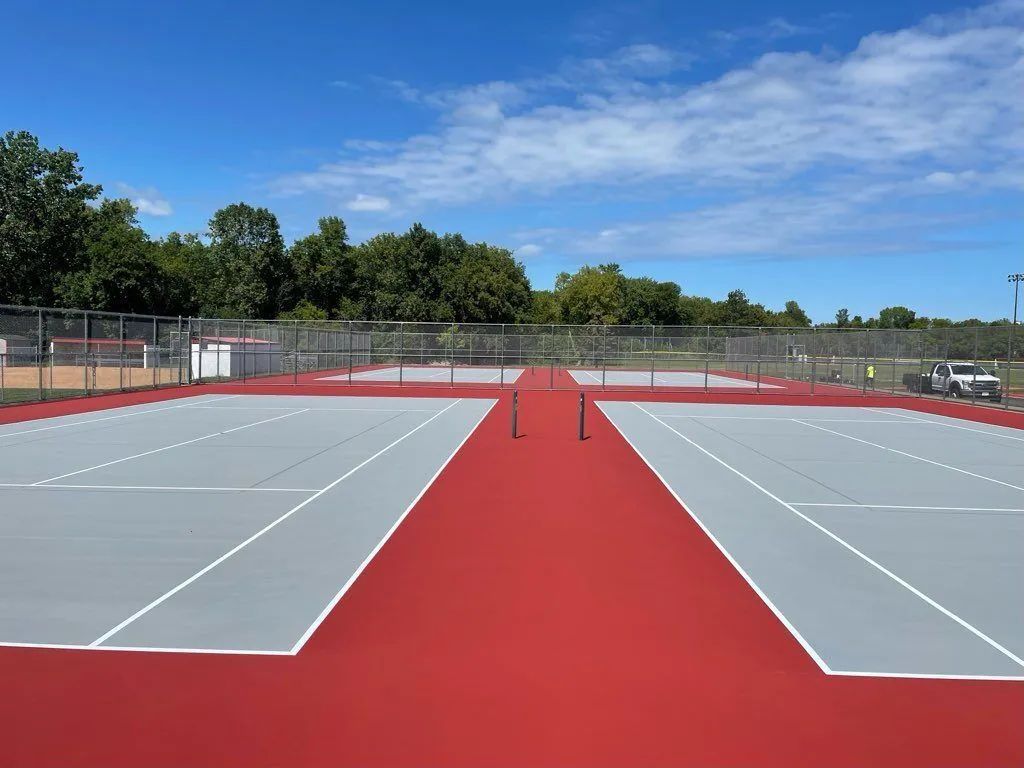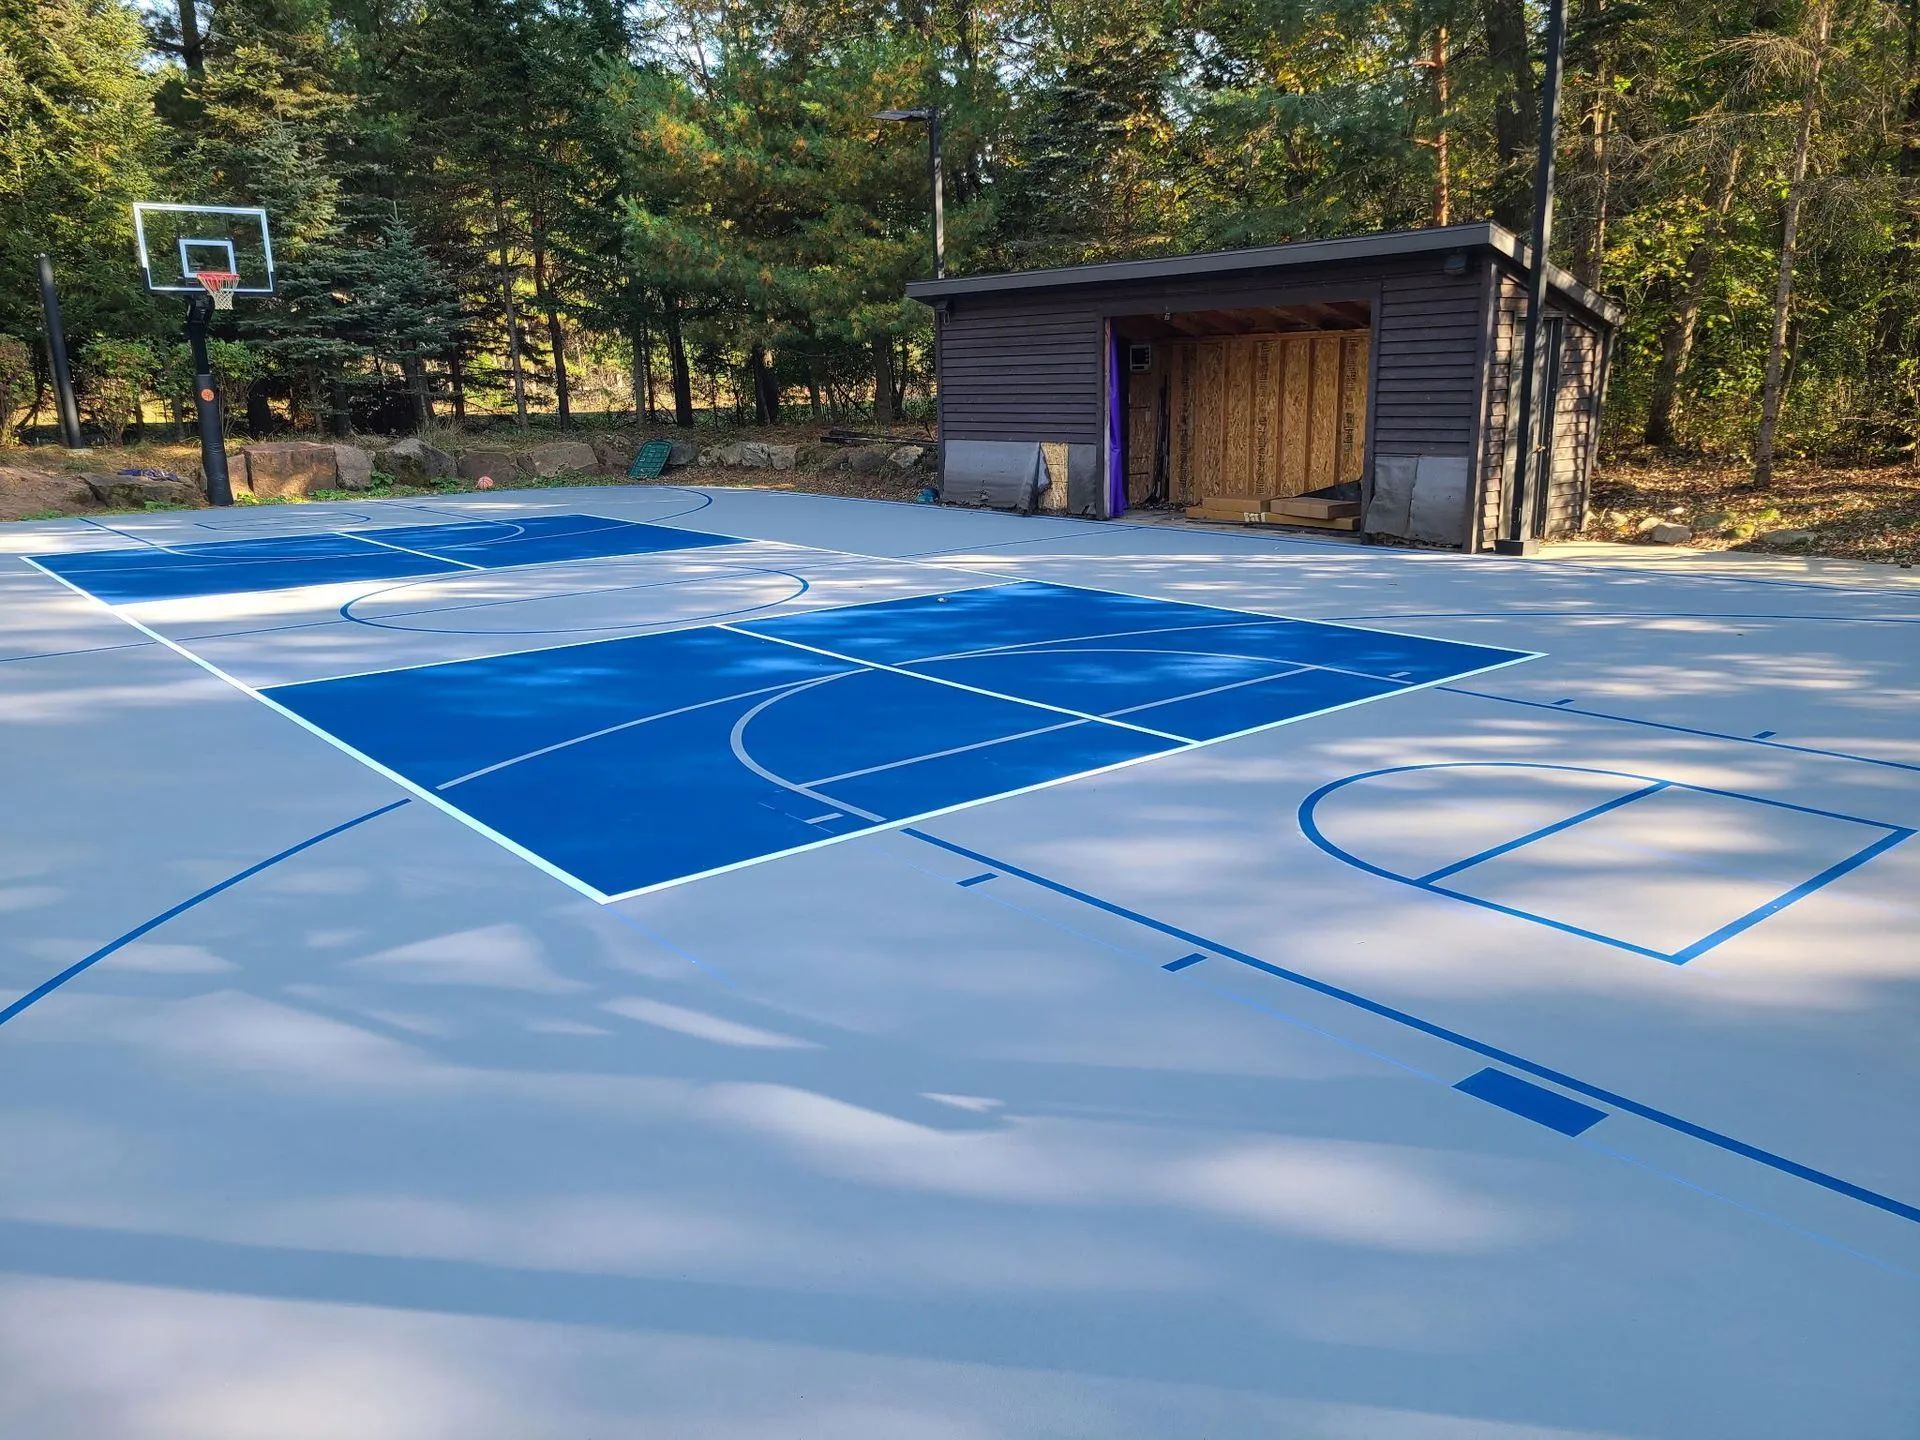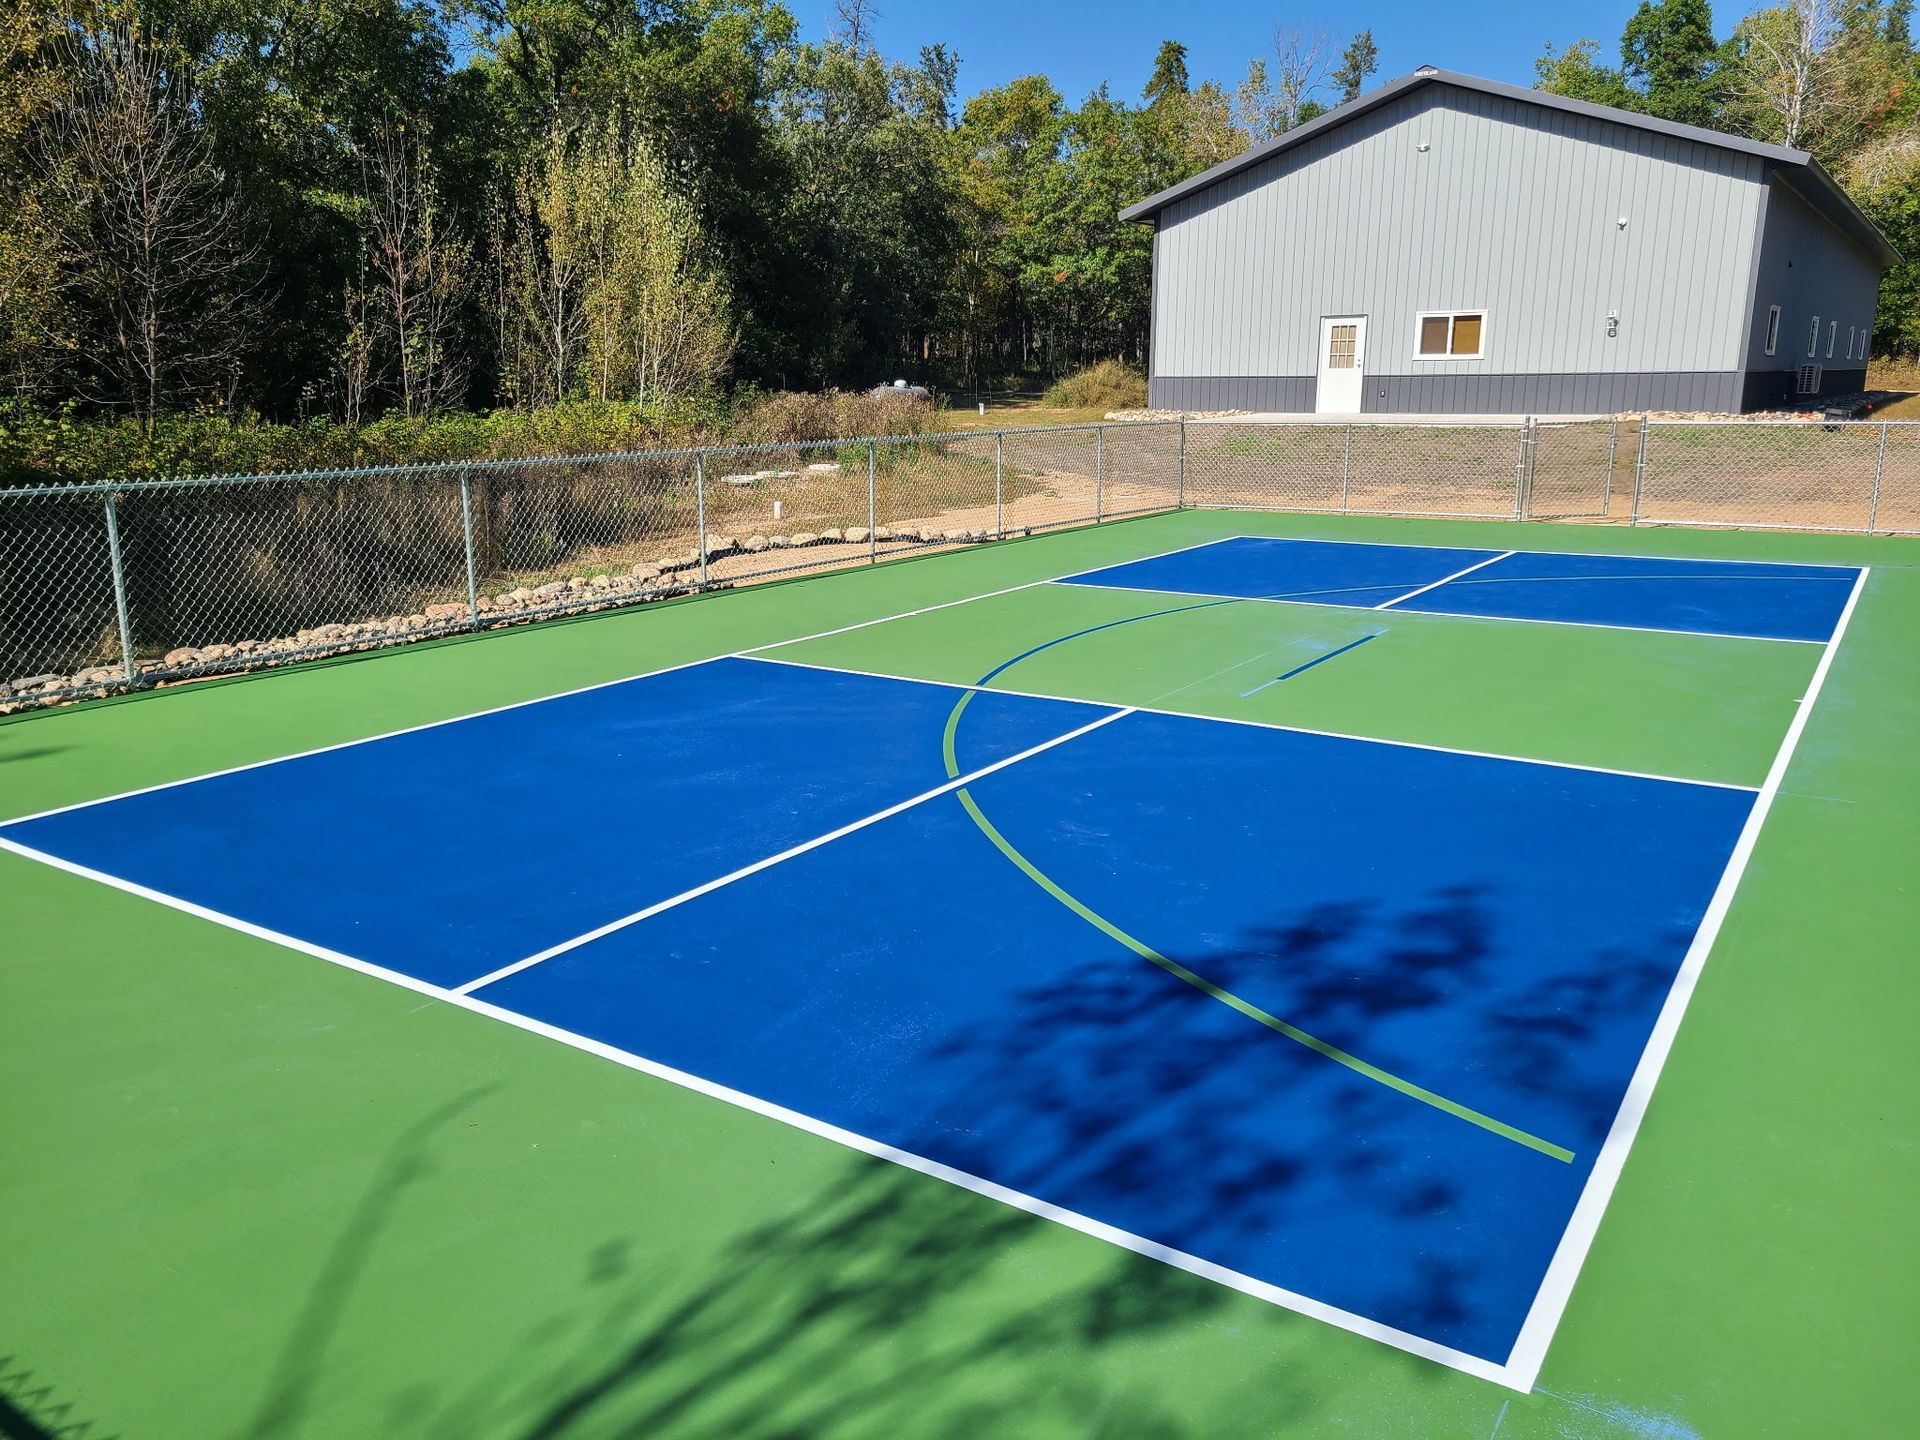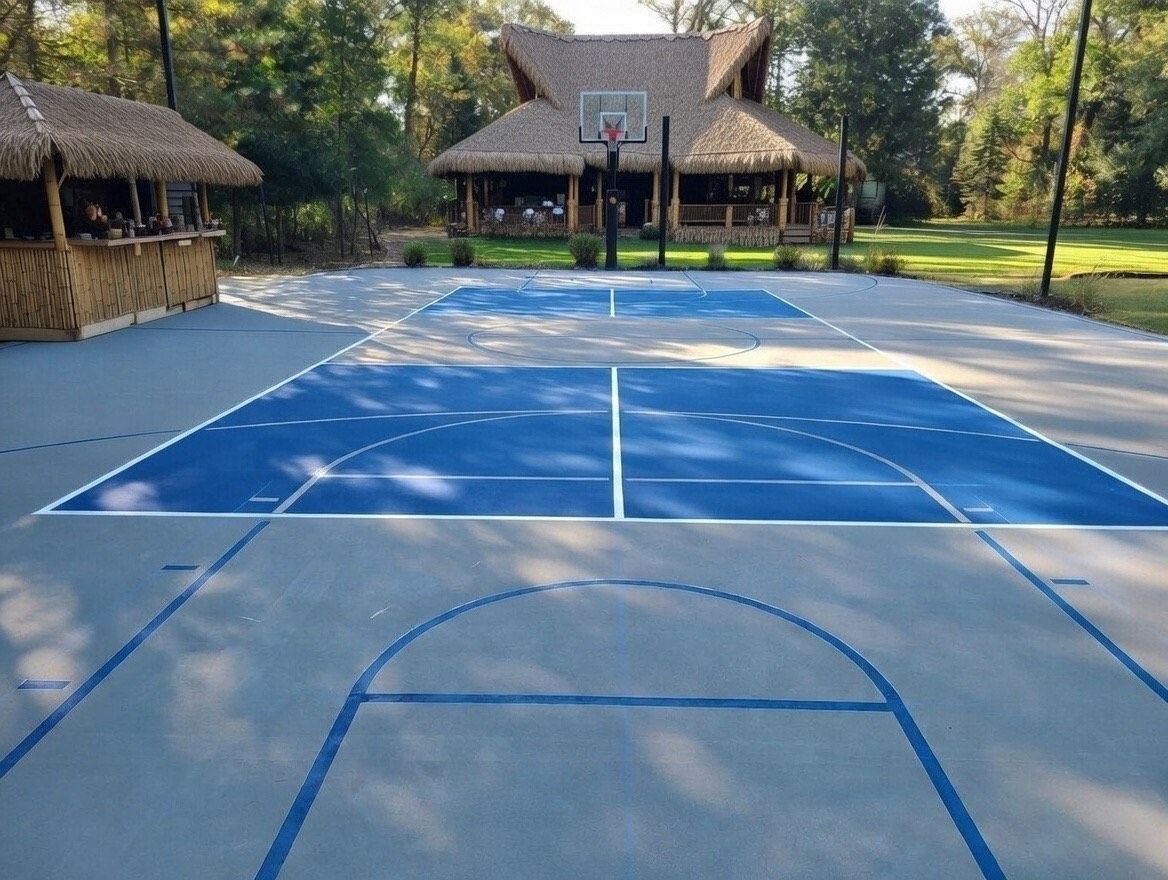

Professional Equipment Installation: Ensuring Safety and Optimal Performance
The boxes showed up in your driveway this morning, heavier than you pictured, and the instruction sheet folded inside reads like it was translated twice. You stood the main piece upright, gave it a push, and felt it shift. That small wobble is the moment most people realize outdoor equipment is far easier to buy than it is to set correctly. Here is the part that matters most: the strength of any outdoor install lives below the surface, in the anchoring and the ground it sits in, not in the shiny hardware you can see. Get the base right and everything above it performs the way the maker intended. Get it wrong and you chase a lean, a sag, or a rattle for years.
After setting up countless hoops, play structures, generators, and anchored outdoor systems across the upper Midwest, the pattern repeats. Failures almost never start with the product. They start with a rushed footing, a shallow anchor, or ground nobody checked before the first post went in. Slow down at the base and the rest falls into place.
What To Do Before Anything Goes Into The Ground
- Lay every part out and confirm the count against the parts list before you dig or drill anything.
- Locate buried utilities by calling the state locate service at 811 and waiting for the marks. This is free and it is the single most important step.
- Check that your chosen spot is level within a couple of inches across the footprint. Slope multiplies stress on anchors.
- Confirm your footing or anchor depth requirement, then plan to dig deeper than the minimum, never shallower.
- Dry fit the structure standing, with no torque, to confirm fit before you commit to concrete or final fasteners.
WARNING: Never dig a post hole or drive a ground anchor before utilities are marked. Gas, electric, and fiber lines run shallower than people assume in residential yards, and striking one creates a real risk of fire, shock, or a serious outage.
TIP: Pour a small amount of water into your test hole before setting a footing. If it drains within a few minutes you have sandy or well draining soil. If it pools, you have clay that holds frost and water, which changes how deep and how wide your footing needs to be.
What Actually Determines a Safe, Lasting Installation
Footing depth and anchor strength decide whether your equipment survives its first winter. The most common reason an outdoor install fails is a footing set above the frost line. When the ground freezes and lifts, a shallow footing rides up with it and never settles back evenly, leaving you with a permanent lean. In our region frost regularly reaches three and a half to five feet down, so a footing poured two feet deep is working against physics from day one.
Secondary causes are usually uneven ground and under torqued hardware. A structure set on a slope carries unbalanced load, and the low side loosens first. Bolts left finger tight instead of torqued to the maker spec back out under vibration within a season.
Less common but real are factory defects in a single bracket or weld, which show up as one joint that flexes while the rest hold firm. Environmental causes center on freeze thaw cycling, which we see forty or more times per winter here and which slowly works anchors loose. Installation shortcuts, like skipping the concrete cure time, and skipped maintenance, like never retorquing after the first month, round out the list.
Specialized Equipment Improves Layout Precision
We start by walking the footprint with a four foot level and a probe rod to feel for buried rock, old footings, or soft fill. A moisture meter and a simple drainage test tell us how the soil behaves when it gets wet, which matters more here than almost anything. We check overhead clearance, surface slope, and how close the spot sits to downspouts or low areas that collect runoff.
On service calls we frequently find equipment that was set correctly but in the wrong location, downhill of a gutter that dumps water against the base every storm. We also routinely find anchors that met the printed minimum depth but sat above our local frost line. Per maker tolerances, we torque to the published values, then mark each fastener so a quick glance later shows whether anything has shifted.
How We Read A Site Before We Build
We start by walking the footprint with a four foot level and a probe rod to feel for buried rock, old footings, or soft fill. A moisture meter and a simple drainage test tell us how the soil behaves when it gets wet, which matters more here than almost anything. We check overhead clearance, surface slope, and how close the spot sits to downspouts or low areas that collect runoff.
On service calls we frequently find equipment that was set correctly but in the wrong location, downhill of a gutter that dumps water against the base every storm. We also routinely find anchors that met the printed minimum depth but sat above our local frost line. Per maker tolerances, we torque to the published values, then mark each fastener so a quick glance later shows whether anything has shifted.
Your Real Installation Options
A self install works for lightweight, surface mounted items like a portable hoop base or a small bench. The upside is speed and control. The downside is that anything anchored or load bearing punishes small errors, and a redo costs you more effort than doing it right once. Expect a clean self install on a simple item to hold for years if the surface is solid.
An
assisted install, where you handle assembly and we set the footings and final anchoring, fits midsize structures and saves you the riskiest steps. A full professional install fits anything tall, heavy, or anchored into ground that freezes, which describes most equipment here. Done correctly, an anchored system set below frost should serve a decade or more without a lean.
Doing It Yourself Versus Bringing Us In
Honest answer: a careful homeowner can handle a surface mounted or freestanding piece on level ground, and that DIY job often holds for years. The line gets crossed the moment the install requires footings below frost, electrical connection, or lifting weight that needs two or three people and proper rigging. Those are the jobs where a small mistake stays hidden until the first hard freeze, then shows up as a tilt you cannot fix without pulling the whole thing back out. If the manual specifies concrete footings or a torque spec you cannot reach with a hand wrench, that is your signal to bring us in.
Why Minnesota Ground Changes The Job
Frost depth is the factor that separates a lasting install here from one that fails. Across Northern and Central Minnesota frost commonly drives three and a half to five feet into the soil, deeper than almost anywhere in the country, which means footings and ground anchors have to go deeper than the national instructions assume. Central Minnesota carries a lot of sandy, well draining soil that holds anchors well but shifts if a footing is too narrow. Move north and you hit more clay and seasonally saturated ground that heaves hard during freeze thaw.
Our install season runs tight too. Ground is often frozen from late November into April, so the workable window is short and the spring rush is real. We plan footing depth around the worst case frost we actually see, not the average, because the one cold winter in five is the one that lifts a shallow install.
Keeping It Safe Season After Season
Monthly, give anchored equipment a firm shake test and look for any new movement at the base. Quarterly, retorque visible fasteners and check that surface water still drains away from the footing. Annually, inspect welds, brackets, and anchor points for rust or fatigue, and confirm nothing has shifted after the spring thaw, which is the single most important check in our climate. Long term, plan to reseal or recoat exposed steel every few years, since road salt and snow chemistry accelerate corrosion here far faster than in milder regions.
Common Mistakes People Make
The most frequent mistake is matching footing depth to the printed minimum. It feels reasonable because the manual says so, but those numbers assume milder ground, and shallow footings heave every spring. Go below local frost instead.
People also skip the concrete cure time, eager to use the equipment the same day. Loading green concrete cracks the footing from the inside, so it looks fine and fails quietly. Give it the full cure the bag specifies.
The last common one is never retorquing after the first month. New installs settle and fasteners back out under vibration, so a thirty minute check after thirty days prevents most loose hardware calls we get.
Frequently Asked Questions
How deep should outdoor equipment footings go in Minnesota?
Plan footings below the local frost line, which commonly reaches three and a half to five feet across Northern and Central Minnesota. Going below frost prevents the seasonal heaving that leaves shallow installs permanently leaning.
Can I install anchored equipment myself?
Surface mounted or freestanding items on level ground are reasonable to handle yourself. Anything needing footings below frost, electrical work, or heavy lifting should be set professionally, since hidden errors surface during the first hard freeze.
When is the best time to install outdoor equipment here?
Late spring through early fall is ideal, since frozen ground from late November into April makes proper footings difficult. Booking early avoids the heavy spring rush when the install window first reopens.
Why does my installed equipment lean after winter?
A lean almost always means the footing sat above the frost line and lifted during freeze thaw. The fix is resetting the anchor below frost, not shimming the surface, which only hides the problem temporarily.
How often should I retorque fasteners?
Retorque about thirty days after install, then quarterly afterward. New structures settle and vibration loosens hardware, so this short, routine check prevents the loose bolt and wobble issues that bring most people back to us.
Common Mistakes People Make
The most frequent mistake is matching footing depth to the printed minimum. It feels reasonable because the manual says so, but those numbers assume milder ground, and shallow footings heave every spring. Go below local frost instead.
People also skip the concrete cure time, eager to use the equipment the same day. Loading green concrete cracks the footing from the inside, so it looks fine and fails quietly. Give it the full cure the bag specifies.
The last common one is never retorquing after the first month. New installs settle and fasteners back out under vibration, so a thirty minute check after thirty days prevents most loose hardware calls we get.